Post by Speed on May 6, 2008 13:59:53 GMT -5
No, too much shit went down. I was REALLY close tho.
pretty depressing actually.
Anyways, heres how it went down:
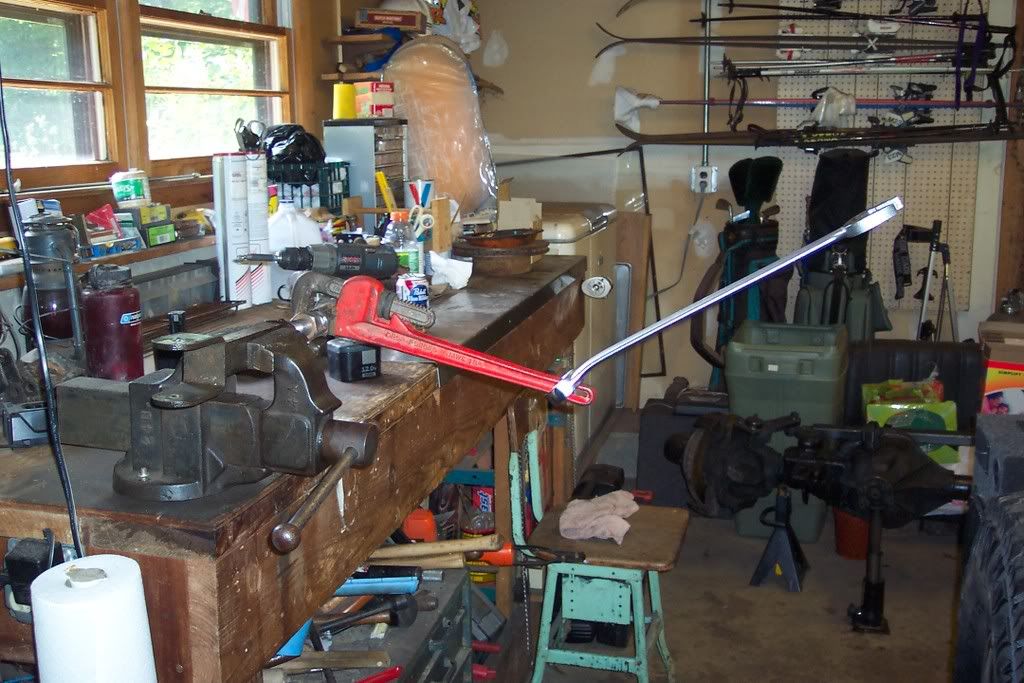
wrenched for about 3 days straight.
Norm came over to lend a hand and was a TREMENDOUS help.
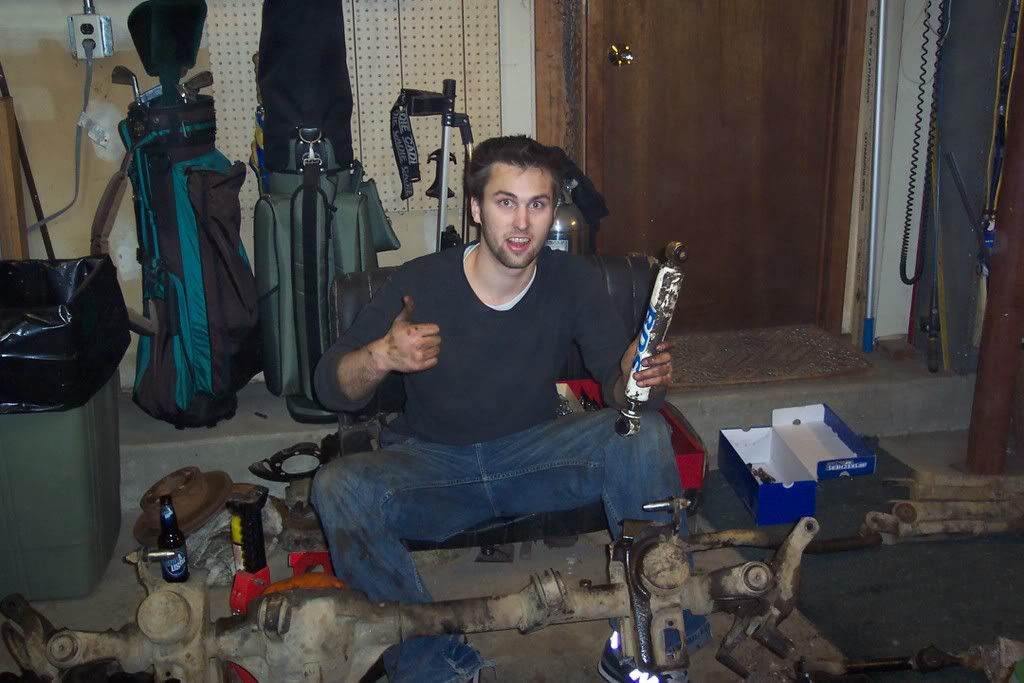
(wow, creepy pic)
He would do what needed to be done faster then I could come up with shit for him to do.
He started by dismantleing the D30 while i took all sorts of measurements in preperation for the transplant.
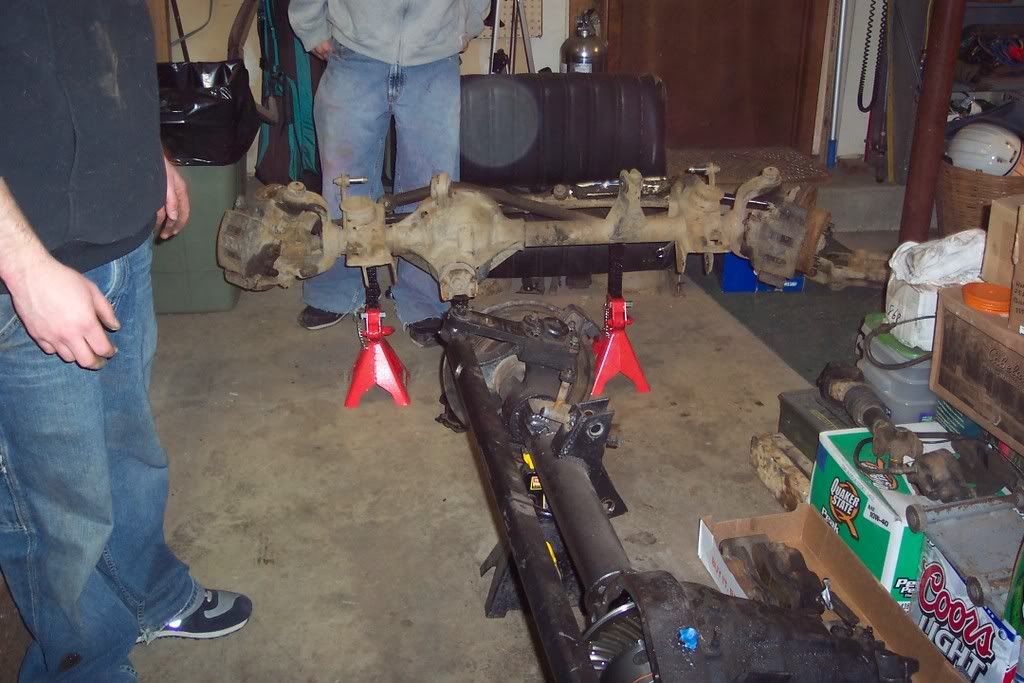
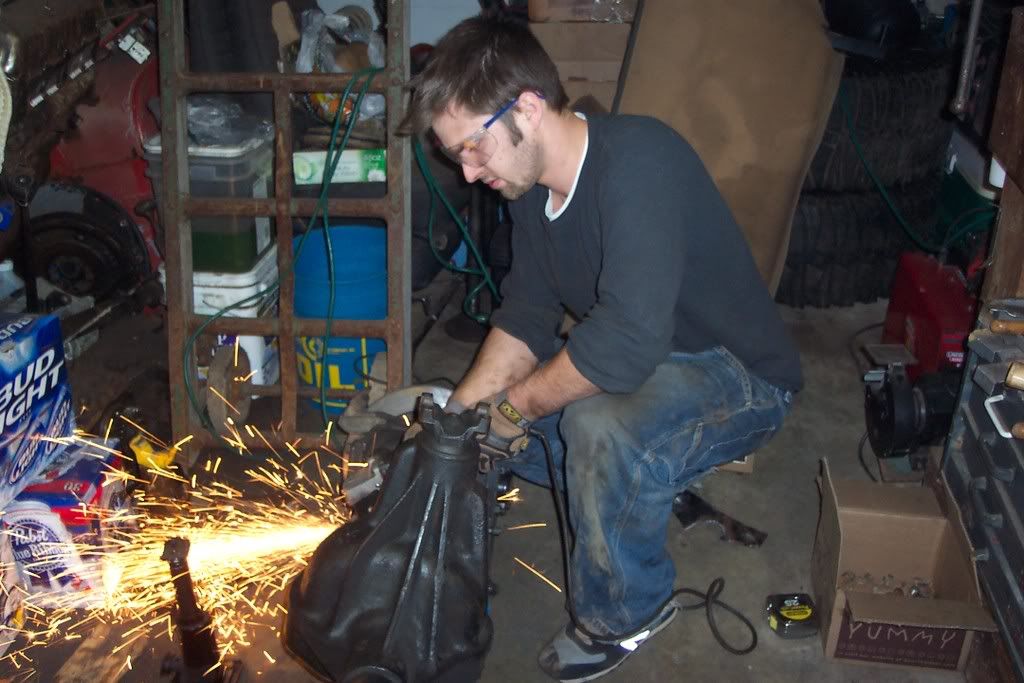
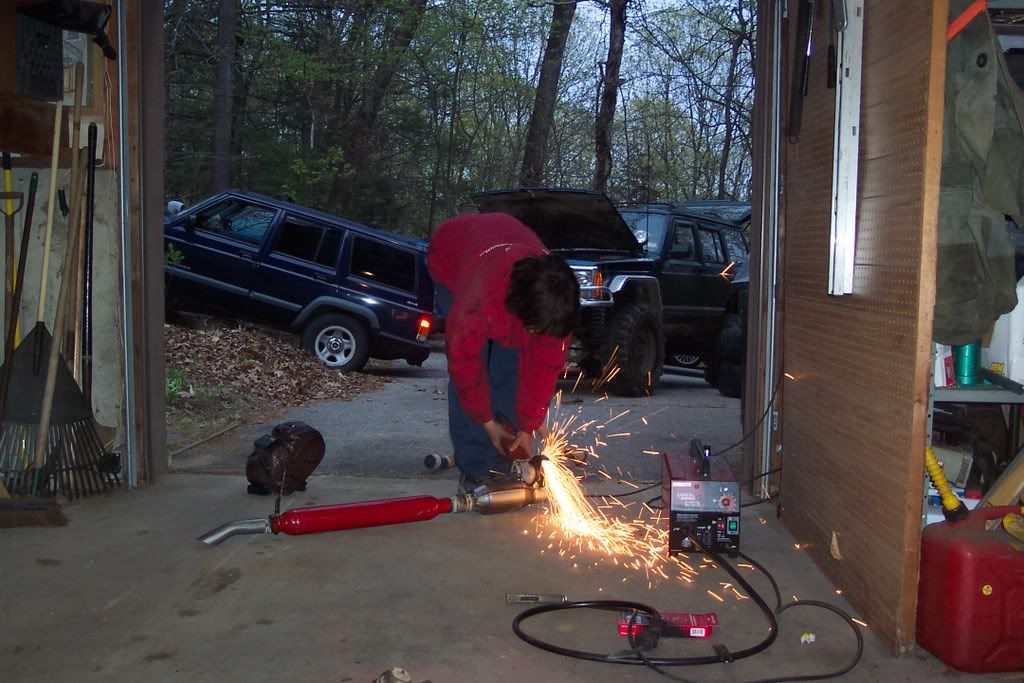
Then I set him up with the grinder:
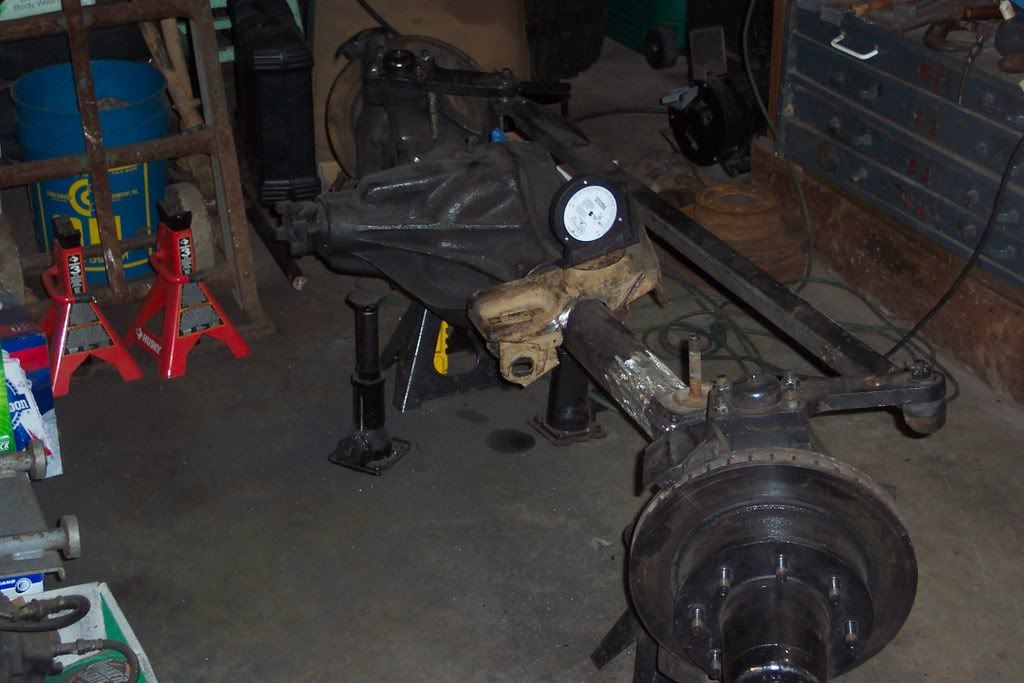
we started to get some shit mocked up:
and there was not much left of the D30 after:
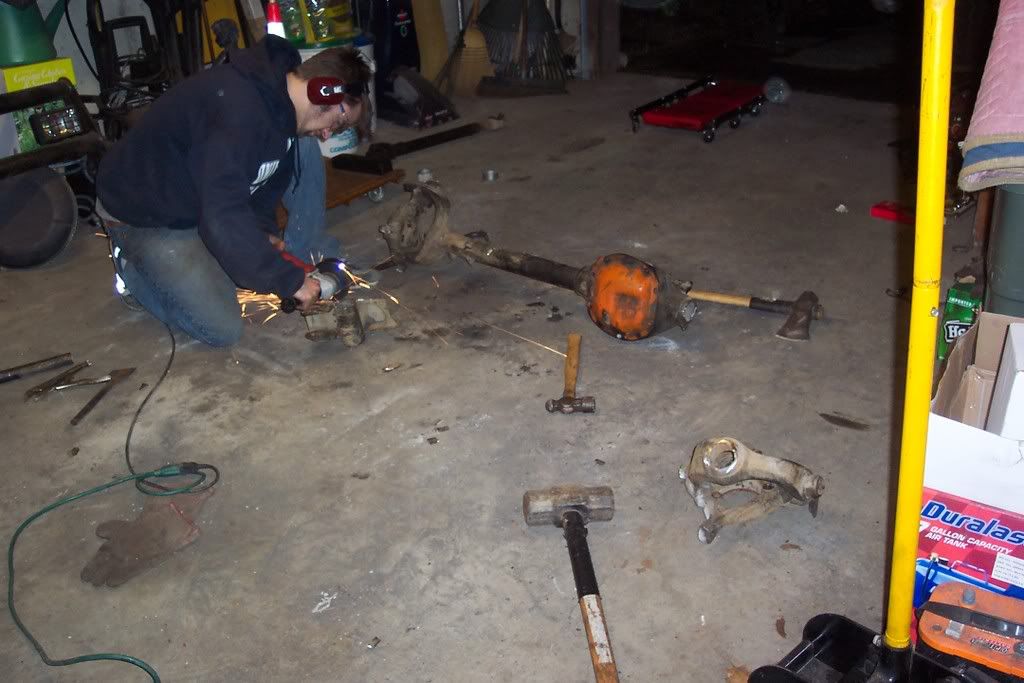
then Norm did some more grinding.
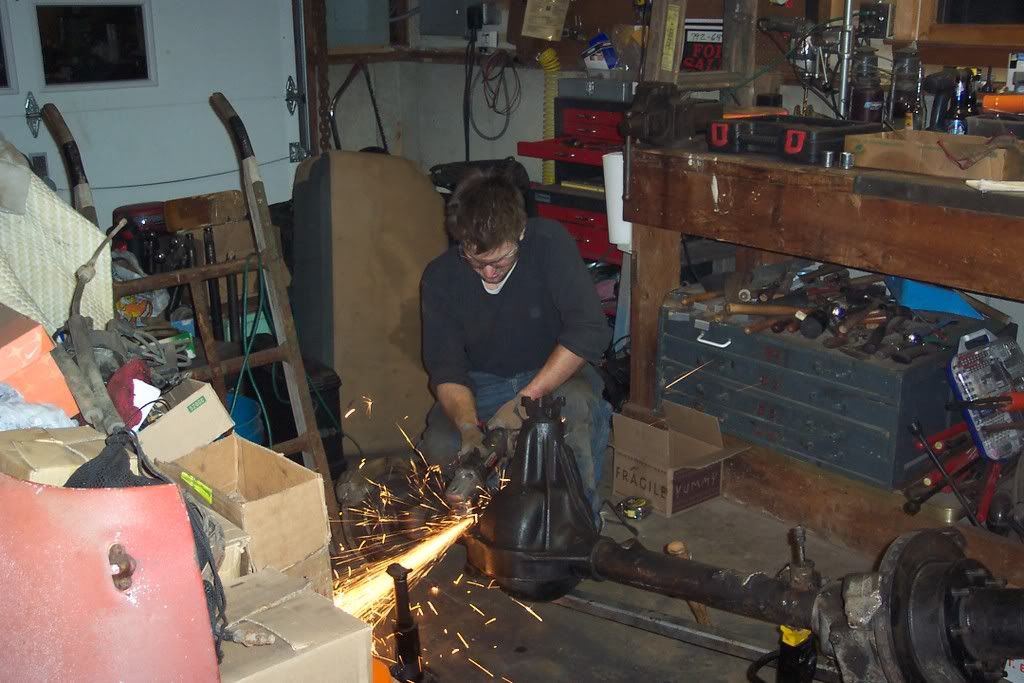
While he did that I figured out what to do about my lug nut conundrum.
basically, i went everywhere to try and find new lugs for the rear, but no place had any that would work, the best i could do was with these, and yet, there was still an issue.
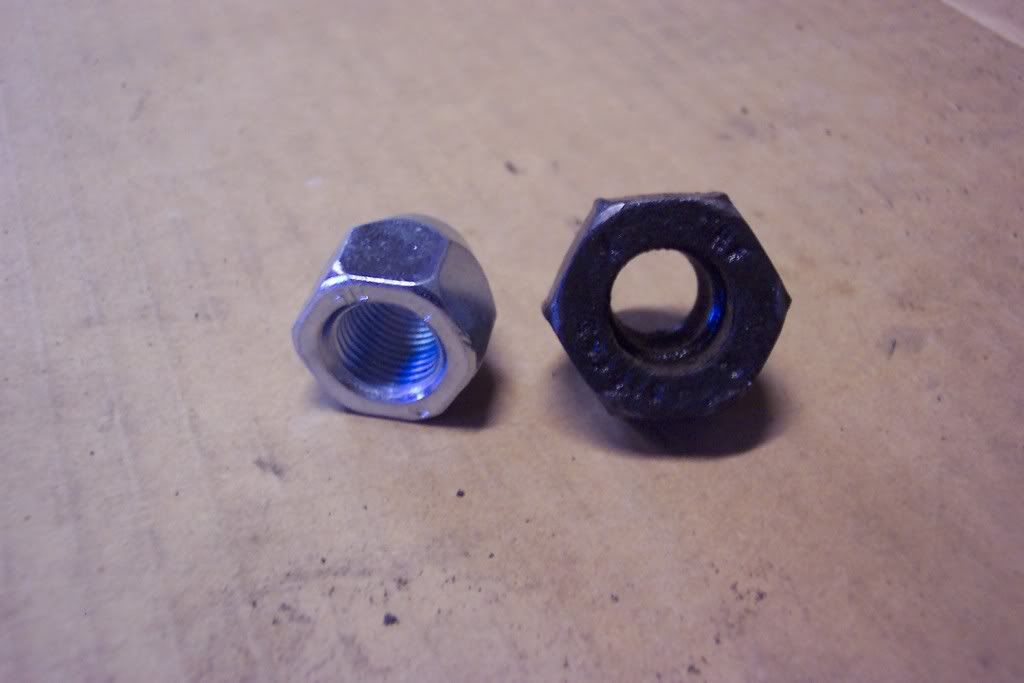
On the left there is the new, on the right, the old.
heres the problem:
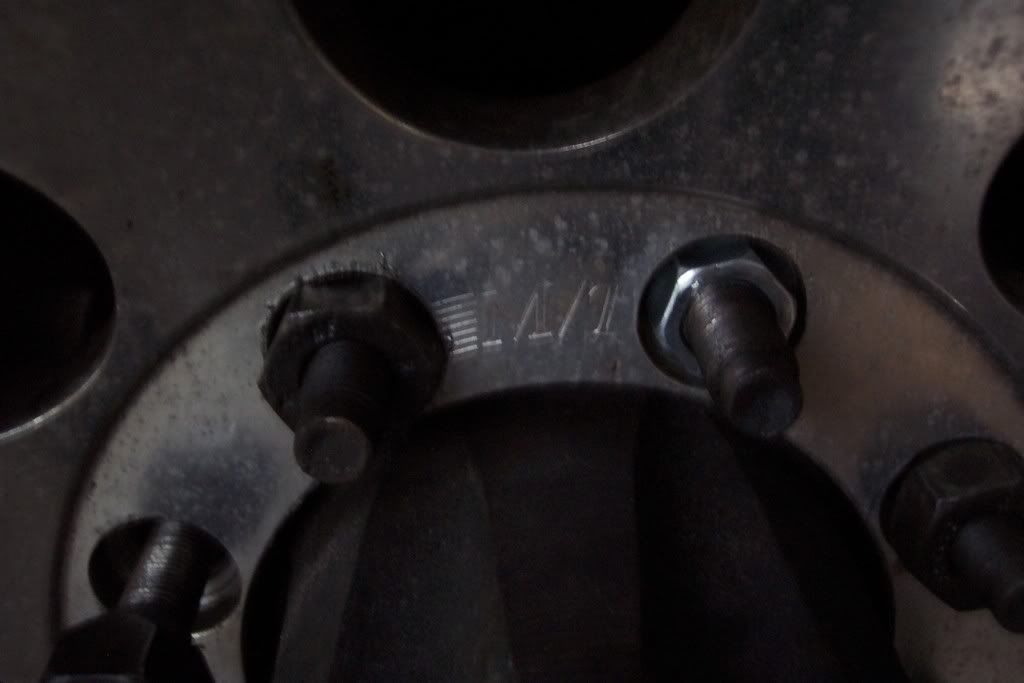
Because of the rim having these insets for the lugs to sit in, the old lugs could not be tightened down because they were too big and were fucking up the rim. (they are nice rims, so id rather not damage them if it can be avoided)
the new ones (on the right) sit inside that inset, but are too short, so I cant get a socket on them. the solution?
make my own.
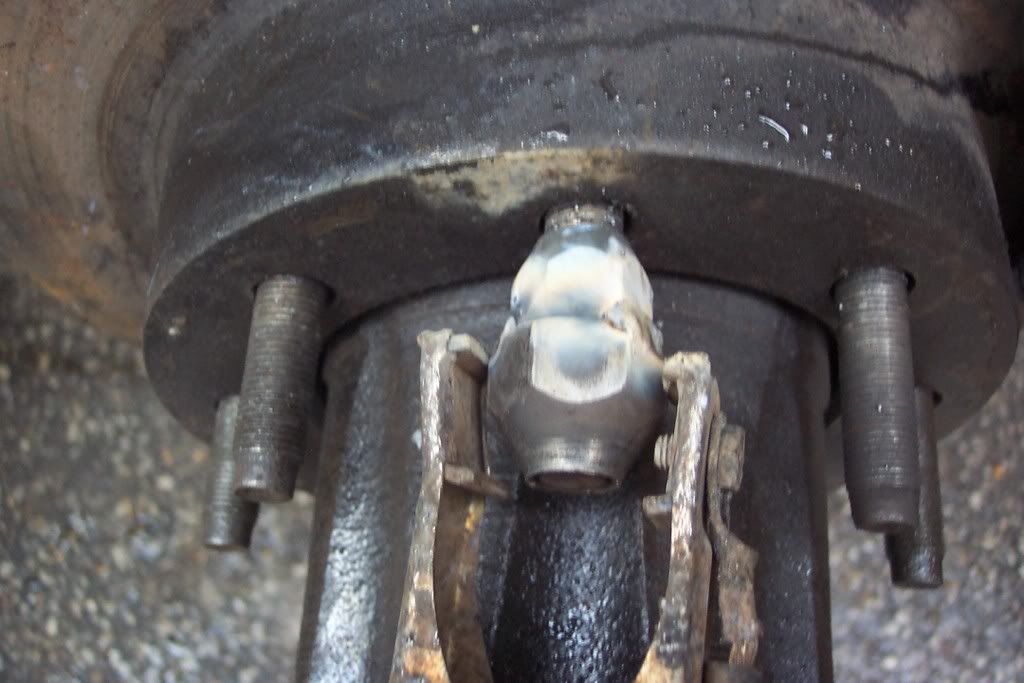
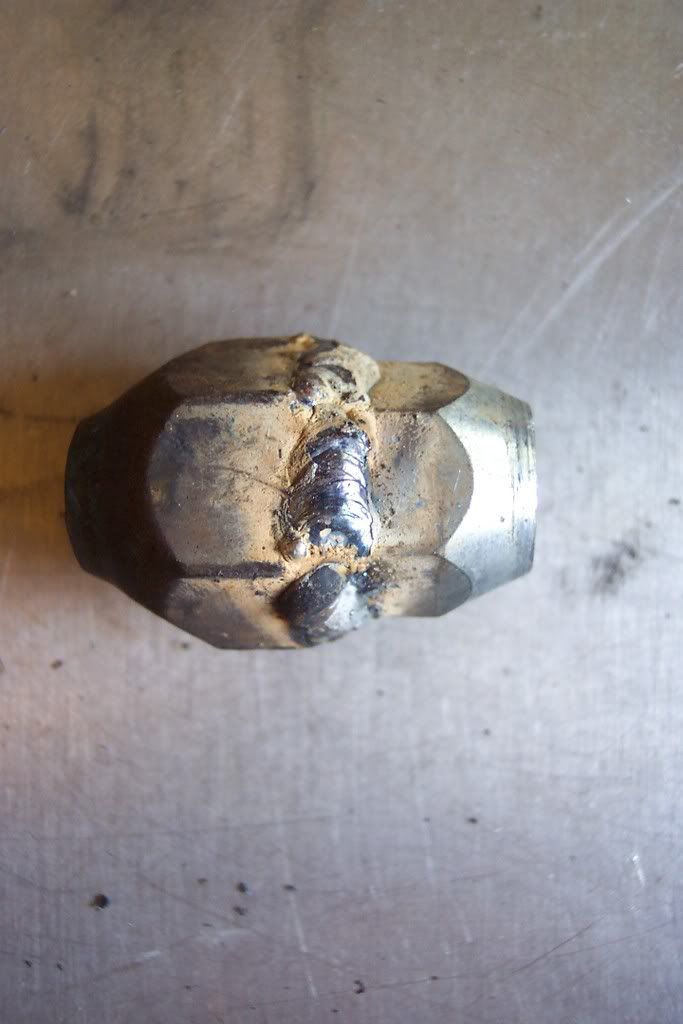
I dont mean to brag, but i thought it was pretty
they still need to be ground down/cleaned up/a touch of paint, but the point is they work. I can torque them down without hurting the rims.
Meanwhile, norm did some more grinding.
did a good job too.
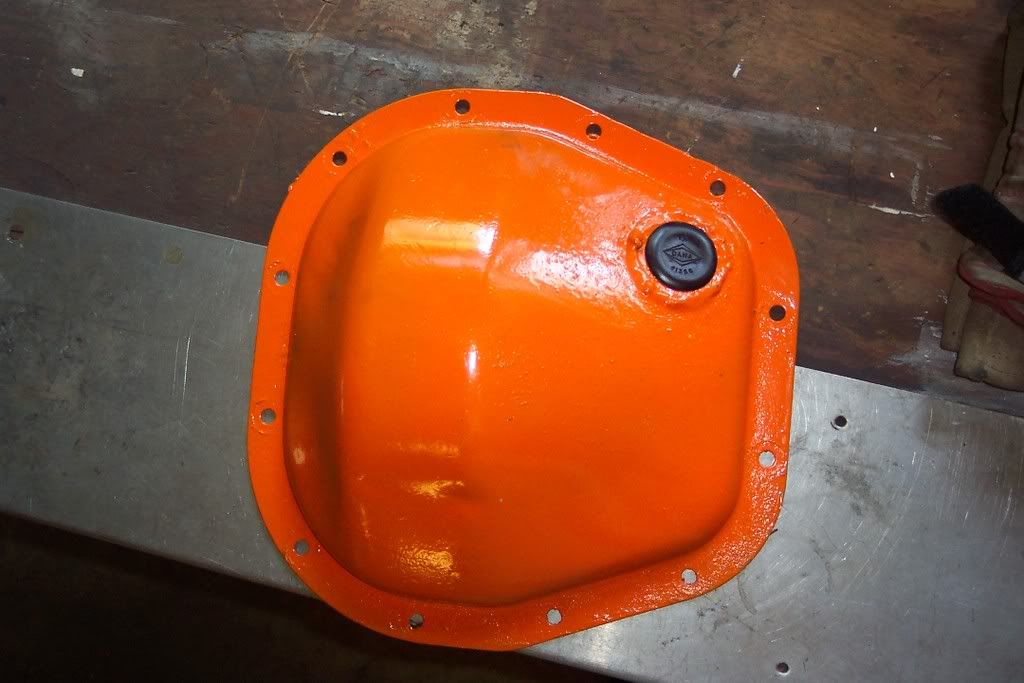
then, I moved onto adding a rear diff cover filler hole, as a 10.25 has a filler hole on top of the housing, and well, with a truss, that isnt ideal.
My welding still isnt the prettiest, but its getting better.
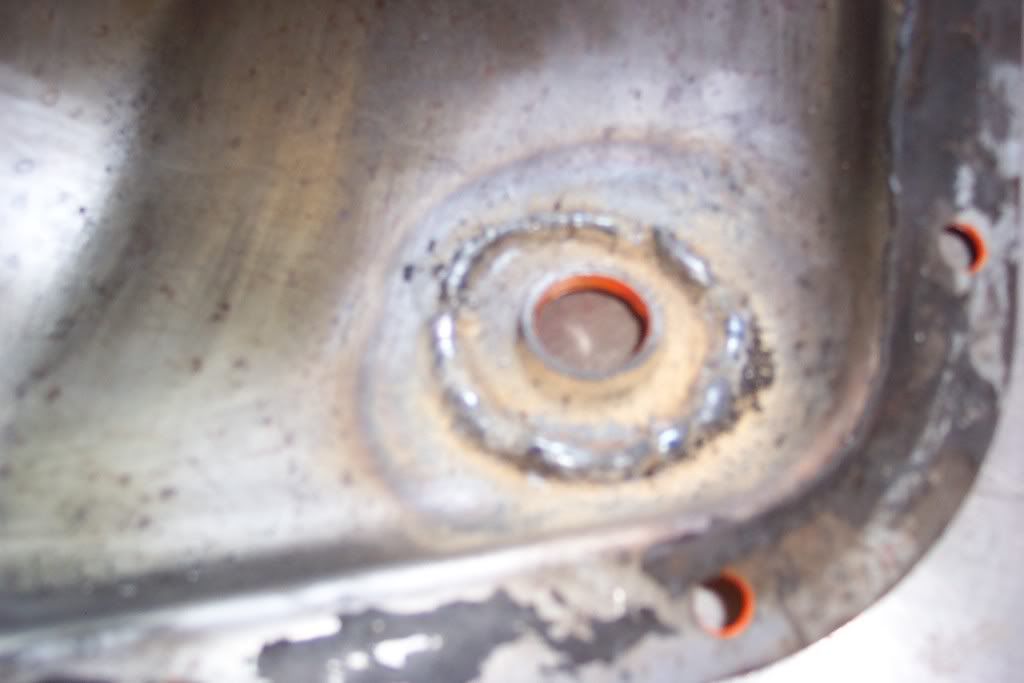
Used the old fill plug from the D35 for luck
welded both sides and then RTVed the front for good measure, then paint.
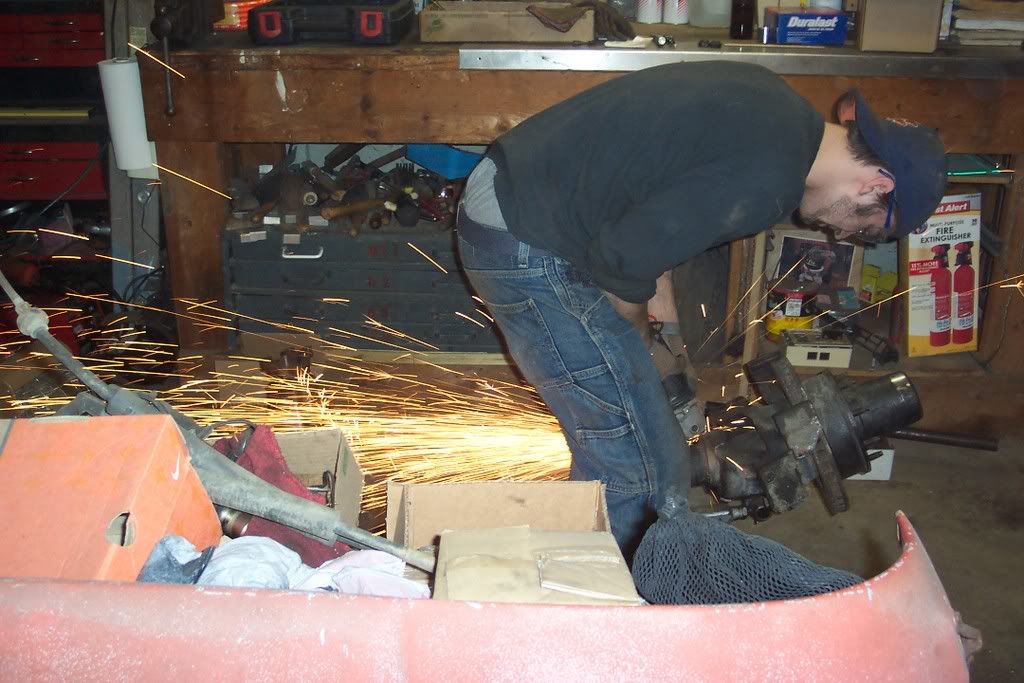
and Norm kept grinding.
Hawk showed up to lend a hand/finish some of his shit before the trip:
I welded everything on:
the passanger side I am really happy about how it came out.
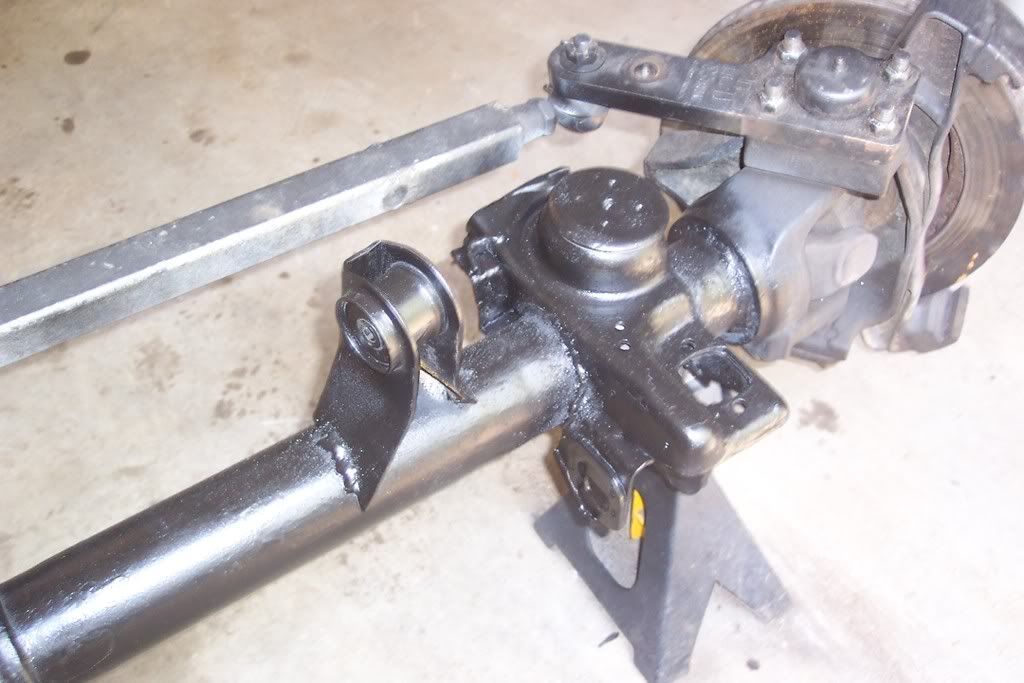
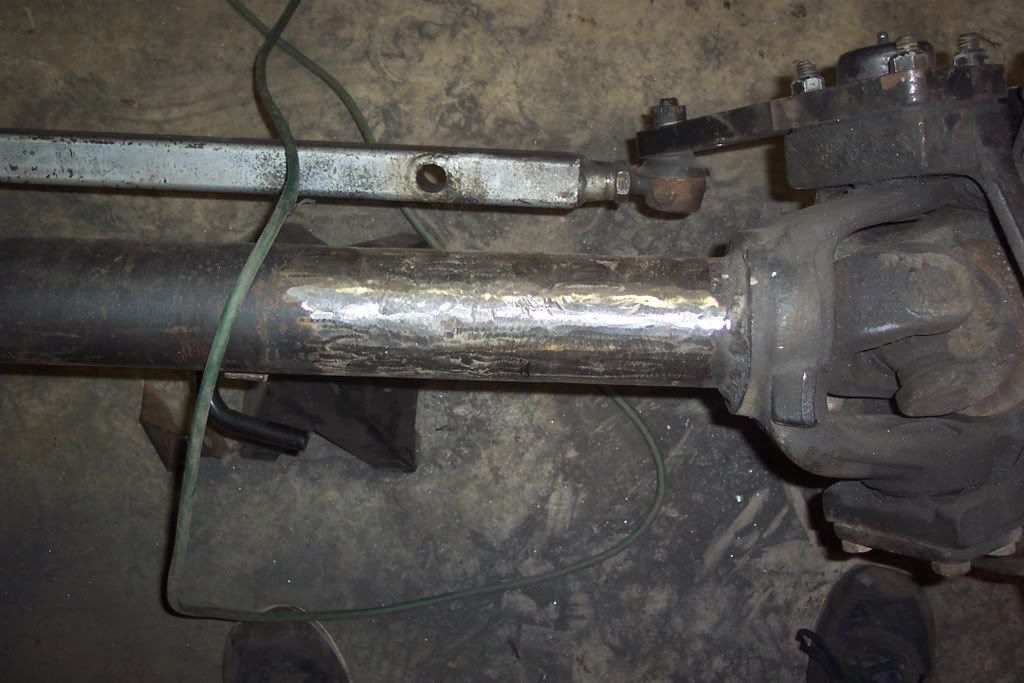
The driverside however, was interesting. because the guy before me welded a plate onto the axle as a mounting point, I was forced to add to it, as cutting it off would be time consuming/ i would be afraid to damage the pumpkin as he welded to it and the original lines that would show me where to make cuts are gone. so i left it and did what I could.
This was however, a rush job, so its not what I would have considered ideal, but I dont see why it will not work.
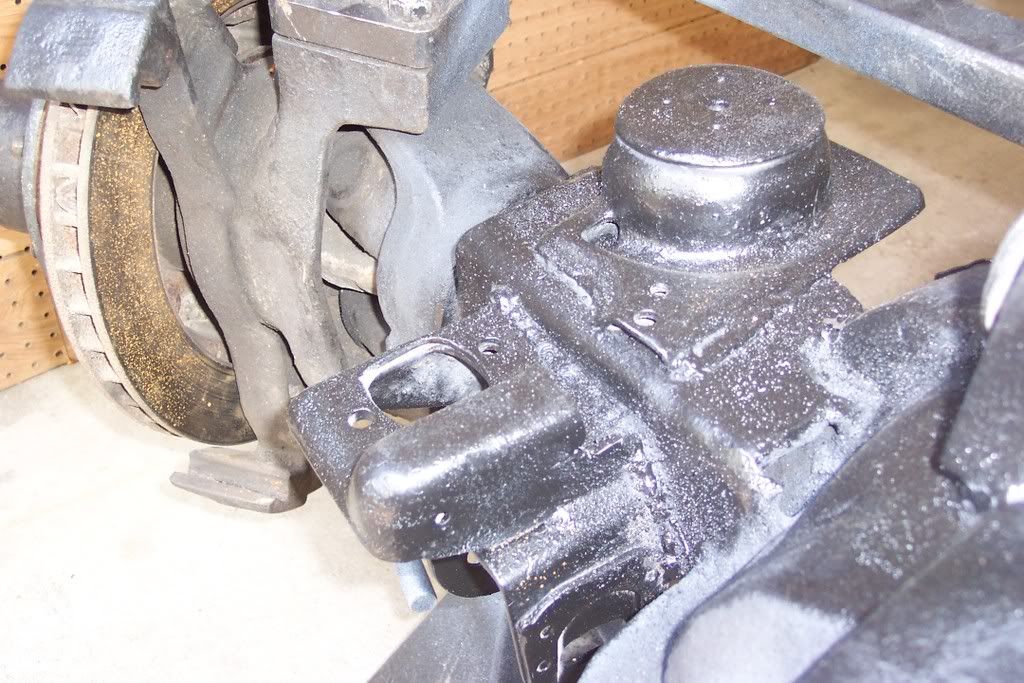
Everything is reasonably close to where it should be, and as close as we could get it while still using factory bracketry and not having to make new shit from scratch.
The coil seat on the driverside sits about 3/4" higher, which im not exactly worried about, I am concerned however, with the fact that the lower control arm mount now sits about 3/4" further back. The arms themselves are adjustable however, and I think I can get away with it by just adjusting it a bit.
like I said, not ideal, but it was a rush job. Im still debating redoing all of the bracketry. but Im still torn on that.
other than that, I plumbed a new breather, filled (welded) the hole in the housing that the last guy made and just left open
 and RTVed the hell out of it just to be safe.
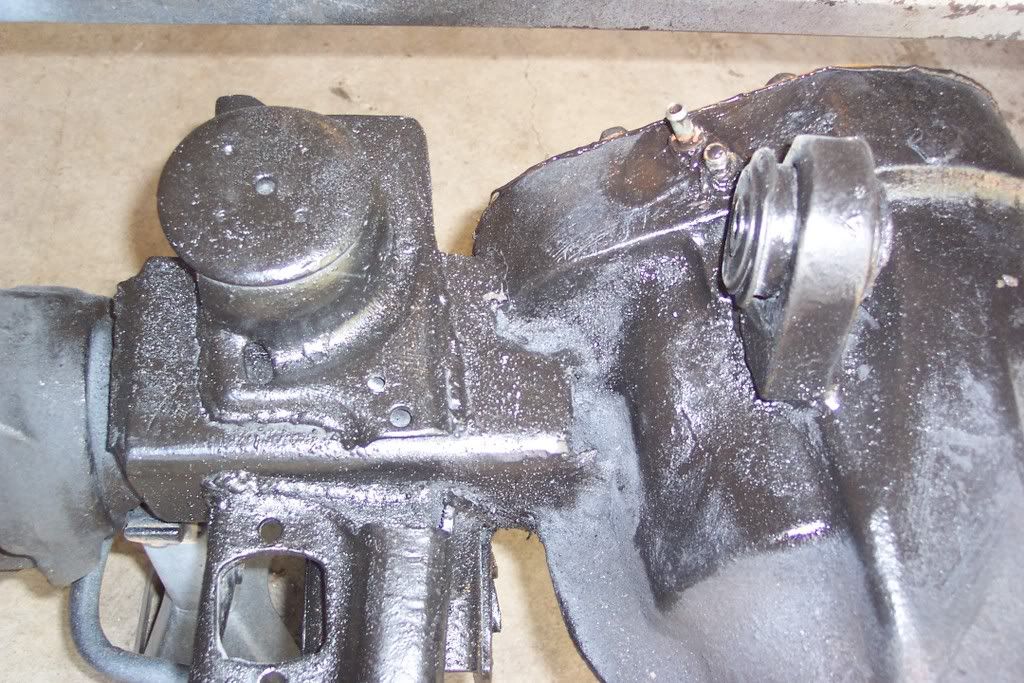
(upper right in pic)
After that, I hit it with some paint, and its ready to go in!
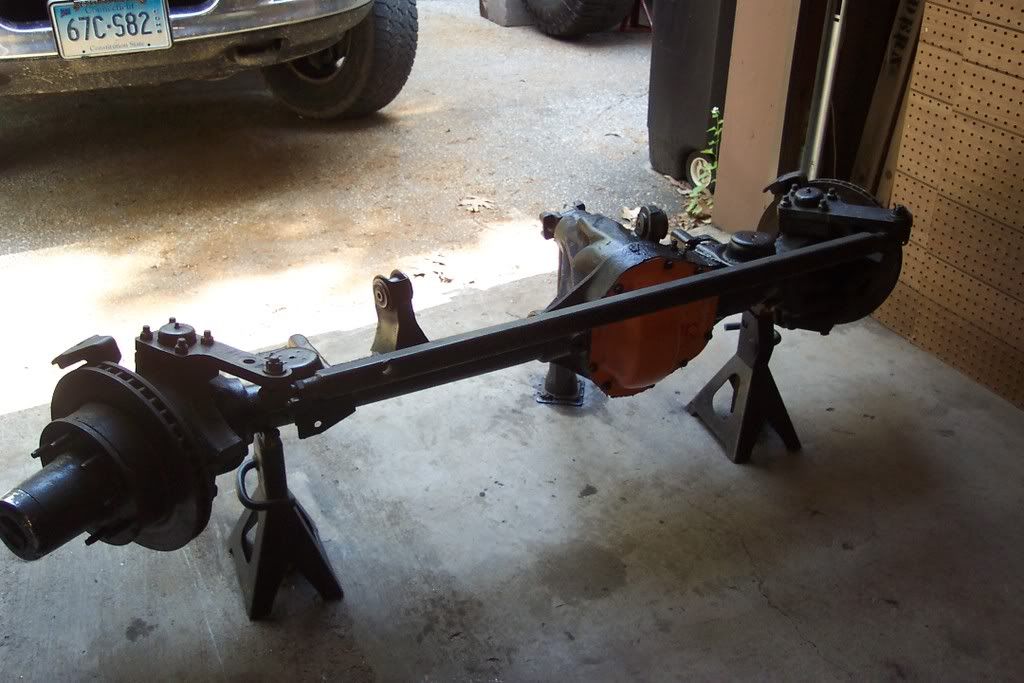
The only reason it hasnt yet is that the UCAs are siezed and wont adjust. Need to go buy torch fuel before this thing can go in.
Other than that, I just need to do brake lines, adjust all the arms, run air lines, breather lines, trim the calipers a bit, install a LCA jam nut eliminatior kit, add fluids and then rock and roll!
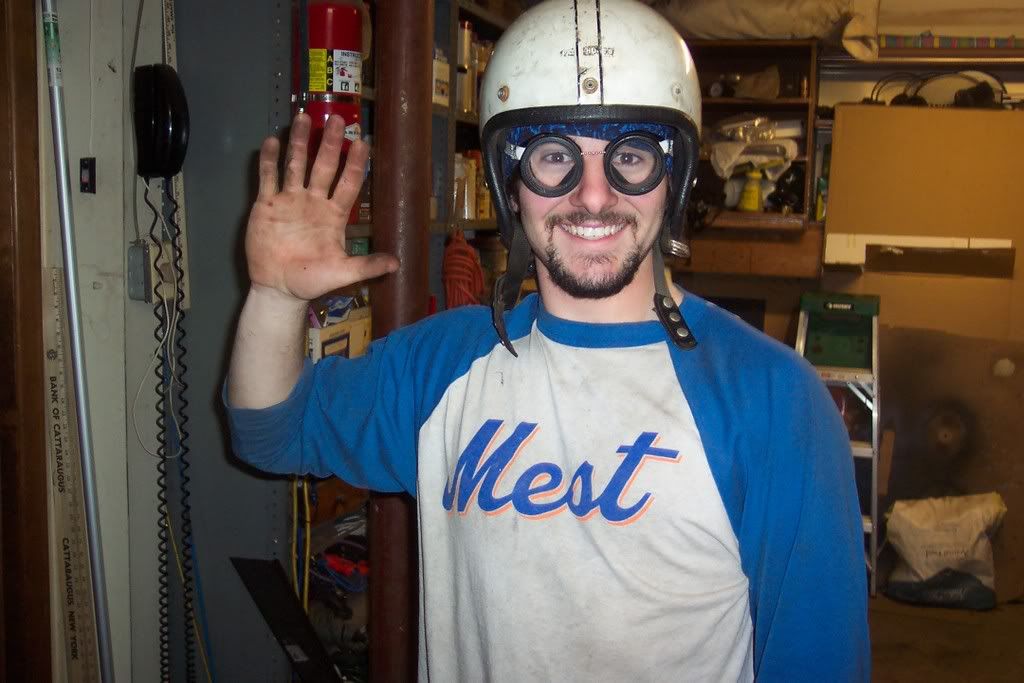
I know I didnt make it to RC, but I still think that all things considered, I earned the right to call myself Speed Wrencher.
I mean, i even have the helmet.
pretty depressing actually.
Anyways, heres how it went down:
wrenched for about 3 days straight.
Norm came over to lend a hand and was a TREMENDOUS help.

(wow, creepy pic)
He would do what needed to be done faster then I could come up with shit for him to do.
He started by dismantleing the D30 while i took all sorts of measurements in preperation for the transplant.

Then I set him up with the grinder:

we started to get some shit mocked up:

and there was not much left of the D30 after:

then Norm did some more grinding.

While he did that I figured out what to do about my lug nut conundrum.
basically, i went everywhere to try and find new lugs for the rear, but no place had any that would work, the best i could do was with these, and yet, there was still an issue.

On the left there is the new, on the right, the old.
heres the problem:

Because of the rim having these insets for the lugs to sit in, the old lugs could not be tightened down because they were too big and were fucking up the rim. (they are nice rims, so id rather not damage them if it can be avoided)
the new ones (on the right) sit inside that inset, but are too short, so I cant get a socket on them. the solution?
make my own.


I dont mean to brag, but i thought it was pretty

they still need to be ground down/cleaned up/a touch of paint, but the point is they work. I can torque them down without hurting the rims.
Meanwhile, norm did some more grinding.
did a good job too.

then, I moved onto adding a rear diff cover filler hole, as a 10.25 has a filler hole on top of the housing, and well, with a truss, that isnt ideal.
My welding still isnt the prettiest, but its getting better.

Used the old fill plug from the D35 for luck

welded both sides and then RTVed the front for good measure, then paint.

and Norm kept grinding.

Hawk showed up to lend a hand/finish some of his shit before the trip:

I welded everything on:
the passanger side I am really happy about how it came out.

The driverside however, was interesting. because the guy before me welded a plate onto the axle as a mounting point, I was forced to add to it, as cutting it off would be time consuming/ i would be afraid to damage the pumpkin as he welded to it and the original lines that would show me where to make cuts are gone. so i left it and did what I could.
This was however, a rush job, so its not what I would have considered ideal, but I dont see why it will not work.

Everything is reasonably close to where it should be, and as close as we could get it while still using factory bracketry and not having to make new shit from scratch.
The coil seat on the driverside sits about 3/4" higher, which im not exactly worried about, I am concerned however, with the fact that the lower control arm mount now sits about 3/4" further back. The arms themselves are adjustable however, and I think I can get away with it by just adjusting it a bit.
like I said, not ideal, but it was a rush job. Im still debating redoing all of the bracketry. but Im still torn on that.

other than that, I plumbed a new breather, filled (welded) the hole in the housing that the last guy made and just left open

 and RTVed the hell out of it just to be safe.
(upper right in pic)
After that, I hit it with some paint, and its ready to go in!

The only reason it hasnt yet is that the UCAs are siezed and wont adjust. Need to go buy torch fuel before this thing can go in.
Other than that, I just need to do brake lines, adjust all the arms, run air lines, breather lines, trim the calipers a bit, install a LCA jam nut eliminatior kit, add fluids and then rock and roll!

I know I didnt make it to RC, but I still think that all things considered, I earned the right to call myself Speed Wrencher.
I mean, i even have the helmet.





 ?? I really need that stupid carrier


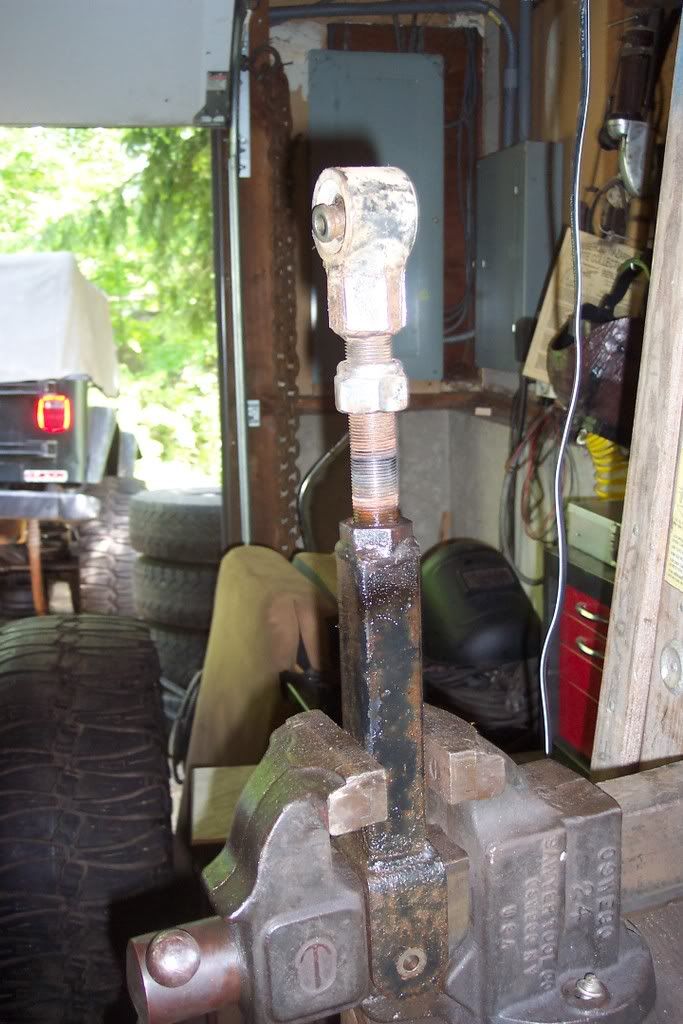
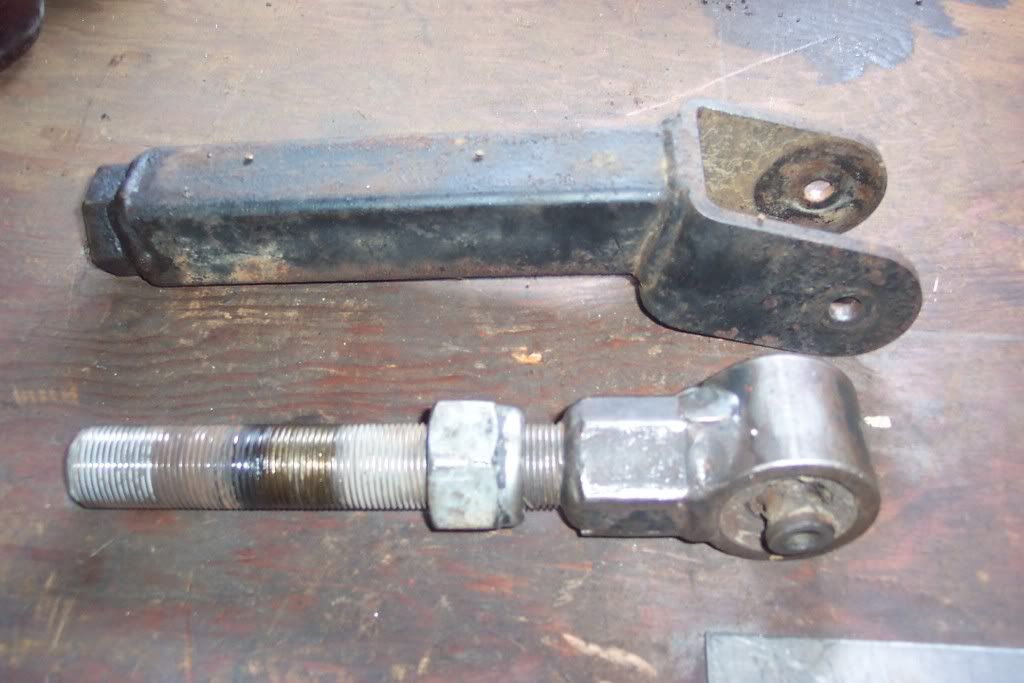
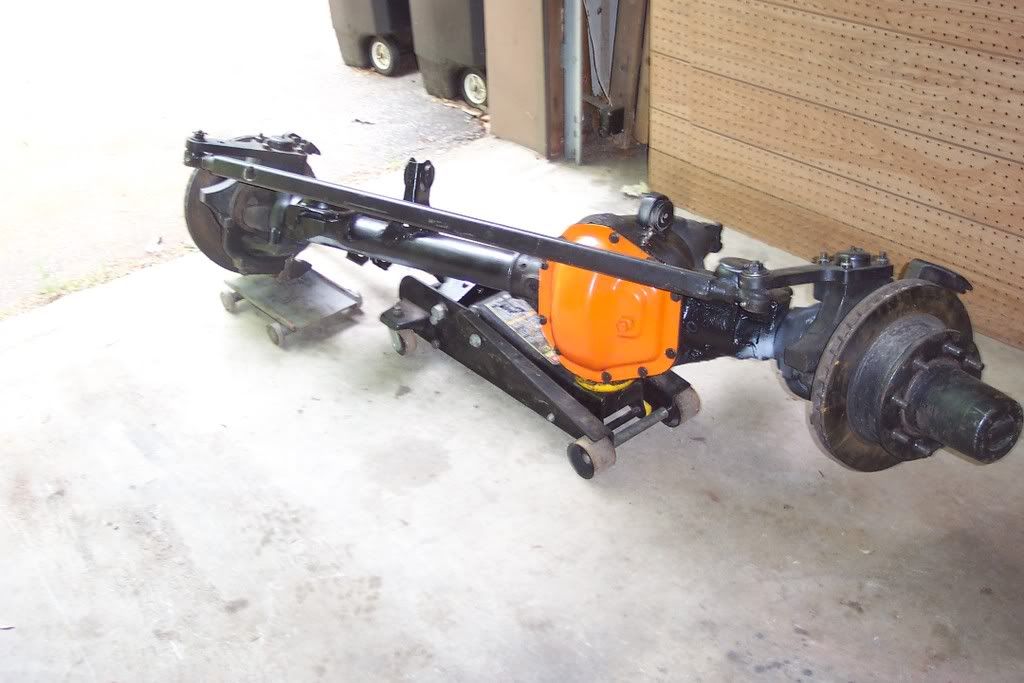
 ) and it became easier to work with.
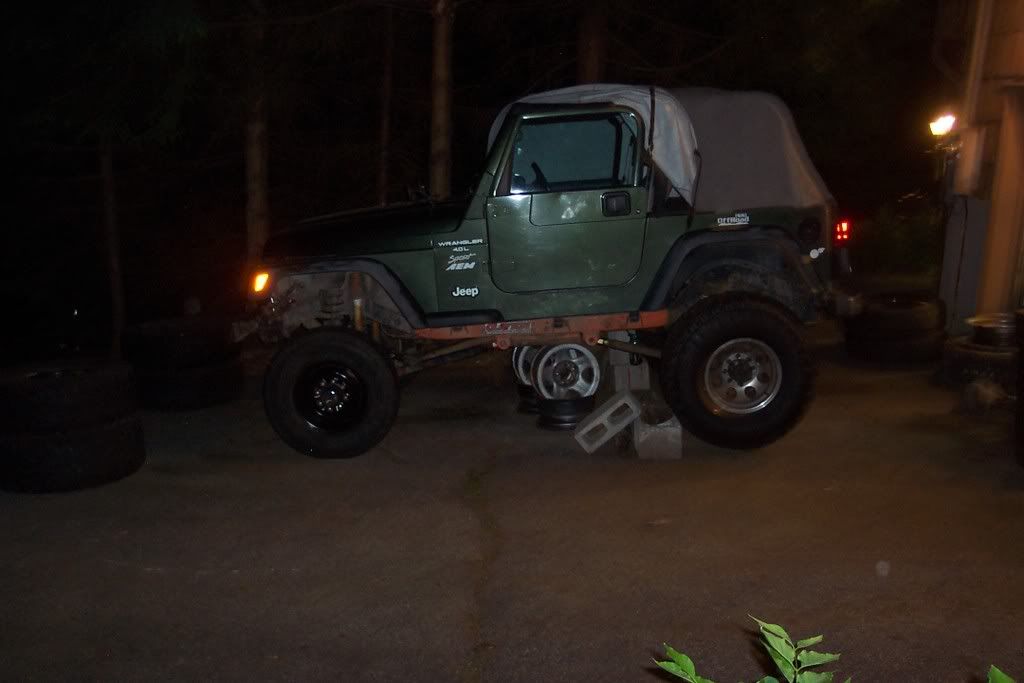
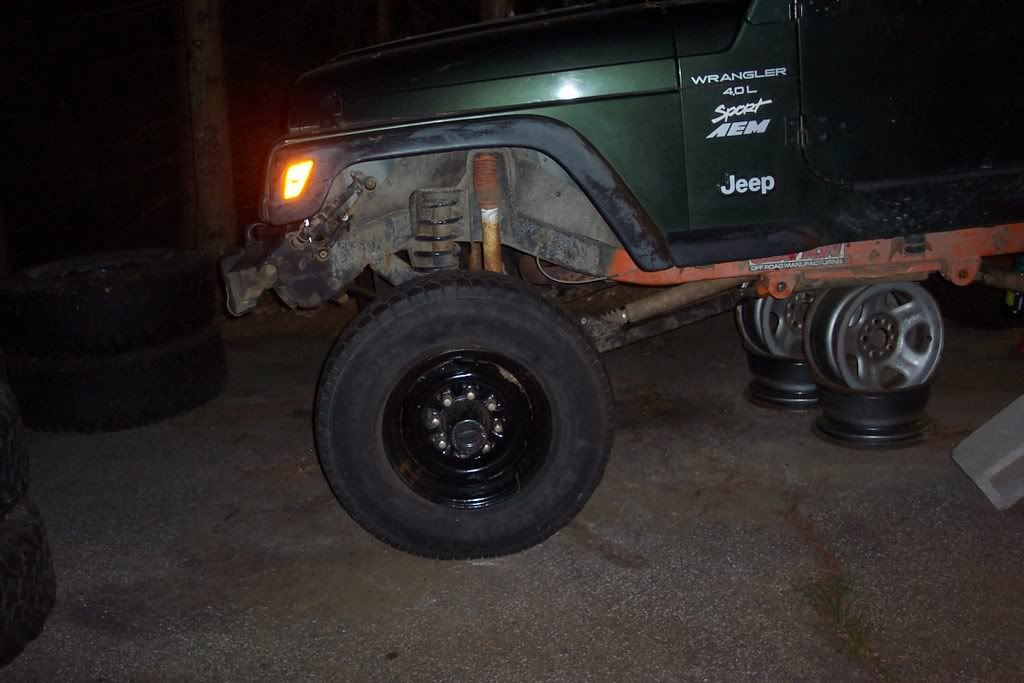
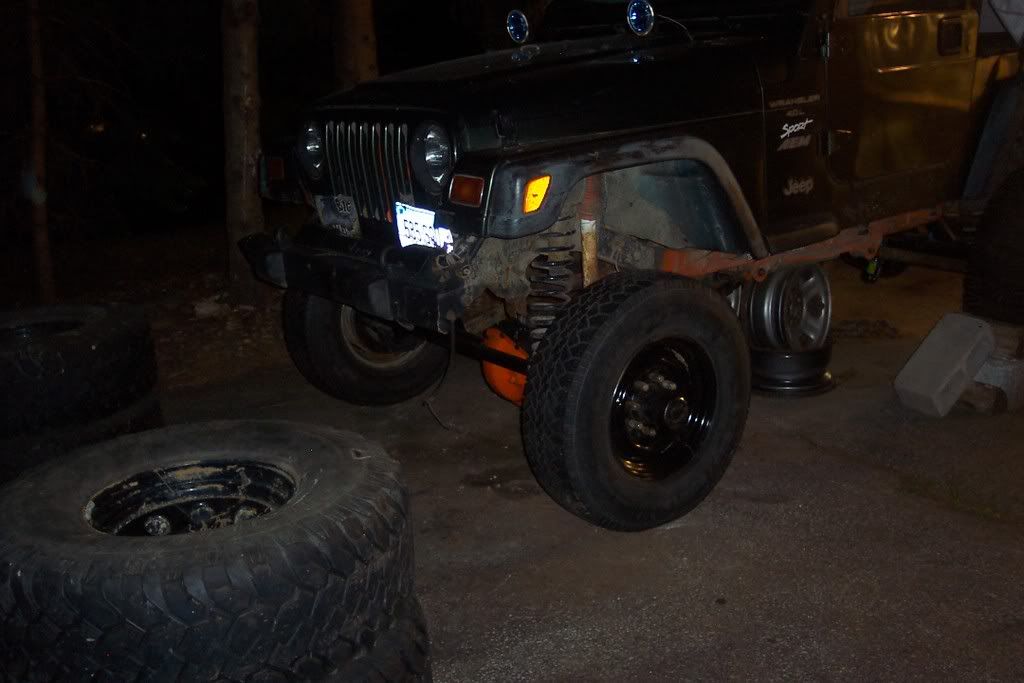
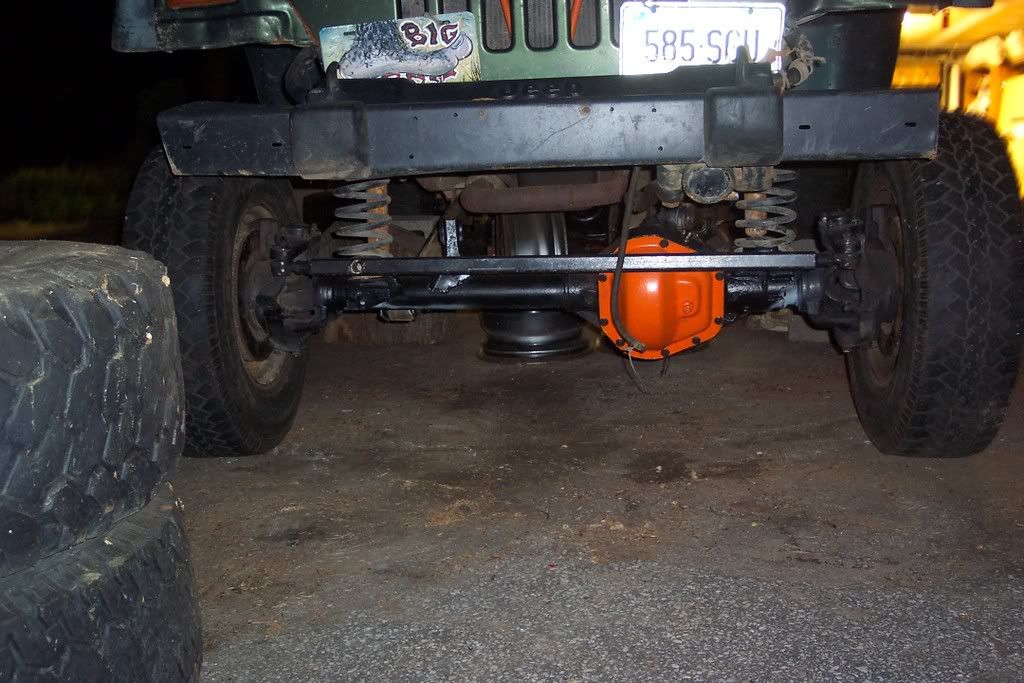
 I have to spend a whole day adjusting all the control arms. the rear still needs a better pinion angle and the front sits too far forward by a few inches.