|
|
Post by littlelegs13 on Feb 19, 2008 14:18:19 GMT -5
dave, you are one crazy guy
and give me your shocks that seem to work well?
hahaha can't wait to see you at mabell
give me some rock guards? then we will be all set
|
|
CSaddict
  PayPal hater
I love Newbs.
Posts: 3,889
|
Post by CSaddict on Feb 19, 2008 17:25:45 GMT -5
hey you wouldnt happen to want some replacement rocker panels would you? I have OEM replacement rockers sitting at home with no use. No thanks Mike. I am going to cut them out and use rectangular tubing. |
|
|
|
Post by FireFighter32 on Feb 19, 2008 20:00:06 GMT -5
as always dave, looks good!
|
|
Pedro
  Watch out for that.... tree
Posts: 4,115
|
Post by Pedro on Mar 9, 2008 23:38:08 GMT -5
damn dave you are amazing....
|
|
|
|
Post by snowblur17 on Mar 17, 2008 9:53:18 GMT -5
You do very nice work   |
|
CSaddict
  PayPal hater
I love Newbs.
Posts: 3,889
|
Post by CSaddict on Jul 13, 2008 9:56:49 GMT -5
So I broke out the rear tail light wheeling in Beckett. Once was enough. I figured why bother replacing it with plastic again. Here is what I came up with. I first found myself trying to measure all the curves of the body. Then I caught myself and realized the entire truck is a beater, why bother. I figured some simple rectangles would do it. I made them out of 1/8th steel. I paid $15 for all the metal and have a bunch left over so I figure $10 for what I used. I got the 4" LED's on Ebay for $37.90 shipped. I bought 4 red stop/tails for ease of hook up. The LED's were an issue to get hook up correctly. When I hooked up the tail light positive and stop positive with a ground nothing would work but if I unhooked the power for the stop, the tails worked. I figured bleed back was the issue. I had a bunch of diodes left over from chipping Honda ecus. That did the trick. Next issue was the dreaded LED fast blink. I solved that by buying an electronic flasher relay that was listed for LED's. I got it at autozone for $13. So for $60.90 this is the out come. The wrinkle paint was the only thing I had left but it actually looked ok. 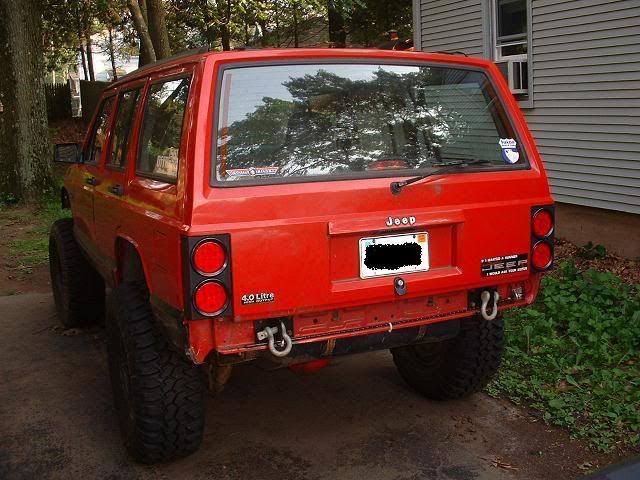 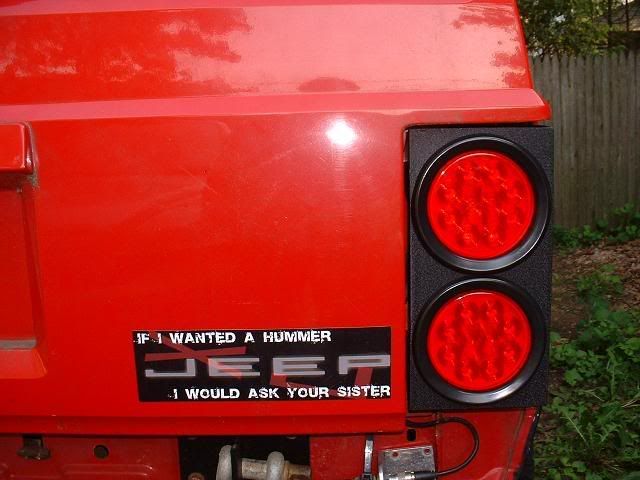 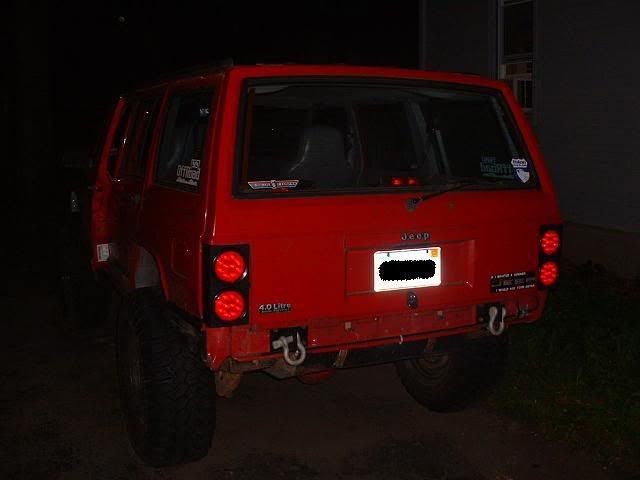 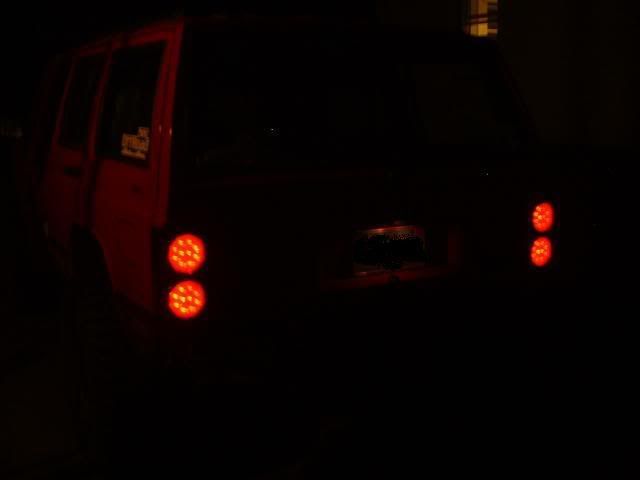 |
|
CSaddict
  PayPal hater
I love Newbs.
Posts: 3,889
|
Post by CSaddict on Jul 13, 2008 9:58:21 GMT -5
|
|
crosbike
  Swap Shop Cop
choo choo
Posts: 6,389
|
Post by crosbike on Jul 13, 2008 13:43:16 GMT -5
nice man. why on earth can i not weld? ugh.
|
|
CSaddict
  PayPal hater
I love Newbs.
Posts: 3,889
|
Post by CSaddict on Jul 13, 2008 14:30:45 GMT -5
I used the MIG for all of it. I am not going to TIG it at all I don't think. The MIG is 10x faster.
|
|
Rico
  Member #31
Posts: 3,926
|
Post by Rico on Jul 15, 2008 6:28:33 GMT -5
awesome Dave, Well Done
|
|
|
|
Post by Rev. AL on Jul 16, 2008 21:46:44 GMT -5
Those look awesome! but where did you get the trim for the fenders?
|
|
|
|
Post by rckrdyxj on Jul 16, 2008 22:33:03 GMT -5
That looks great dave. Now if only i had a welder since i can weld i would have all kinds of cool stuff done on my jeep that i want to do.   |
|
CSaddict
  PayPal hater
I love Newbs.
Posts: 3,889
|
Post by CSaddict on Jul 17, 2008 5:13:38 GMT -5
Those look awesome! but where did you get the trim for the fenders? Its just the pinch style door edge moulding from Vatozone. |
|
CSaddict
  PayPal hater
I love Newbs.
Posts: 3,889
|
Post by CSaddict on Aug 9, 2008 18:11:51 GMT -5
Here it is. I MIG'd the whole thing so no sexy TIG shots. Here is how I started. I got the plate hole plots from a PDF on NAXJA that were a bit off. I corrected them before drilling. 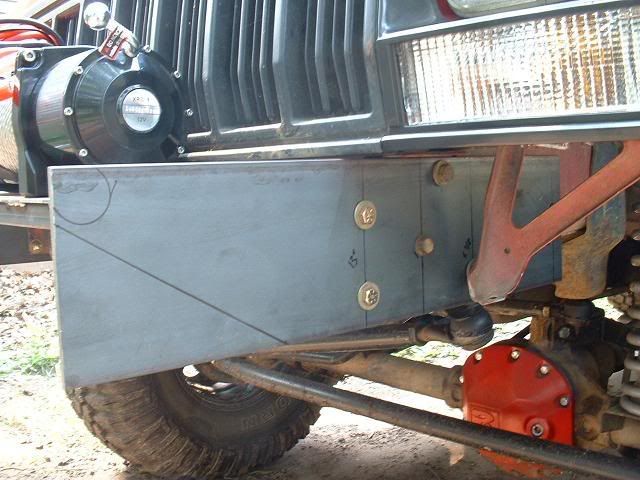 Side plates are .250 and then I used some 1x3 with some .125 on the top to mount the winch. 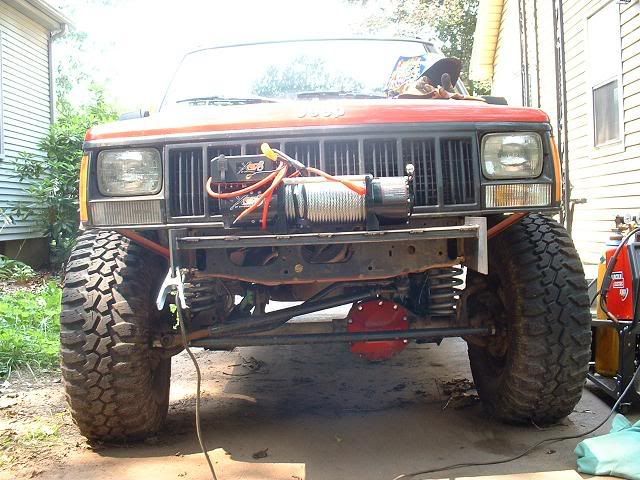 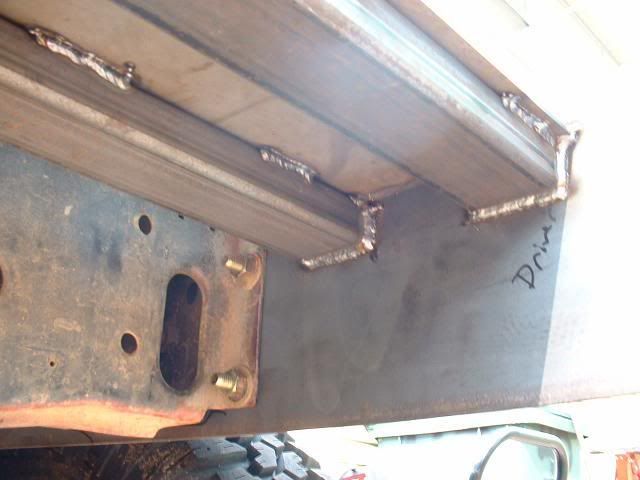 Made the tubes on Bend tech pro first and then bent them on the JD2 bender. 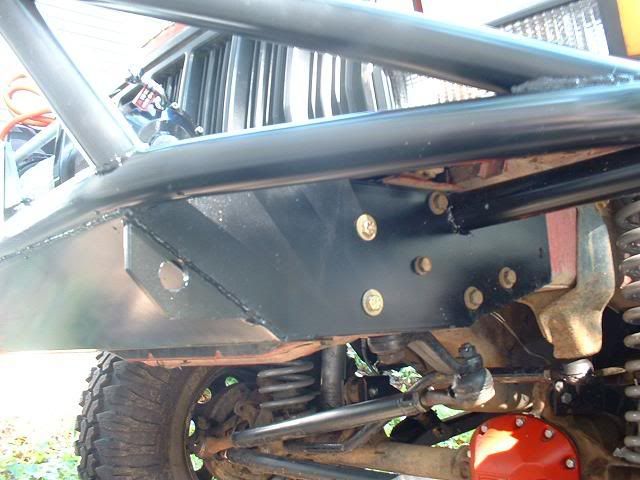 D ring plates are 3/8 and welded on all sides and go 6" deep. 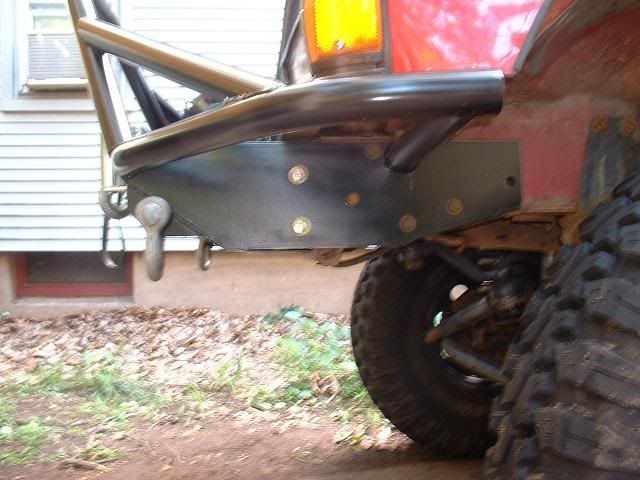 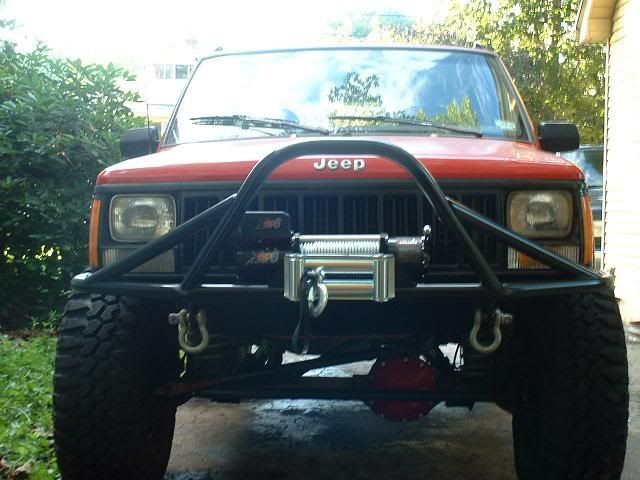 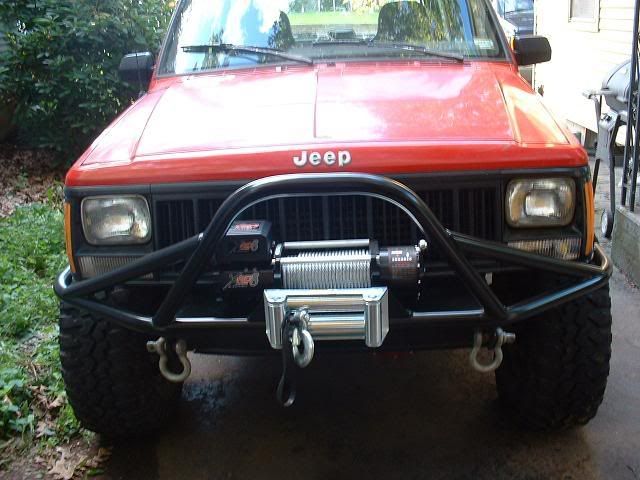 Wired the ching chong winch this morning and it works. Everything fits nicely. Now I can start on the rear! |
|
|
|
Post by rckrdyxj on Aug 9, 2008 18:19:37 GMT -5
Dave that is by far the best home made winch bumper i have ever seen. I think i would give up my reinforced arb for that bumper.
|
|